So a couple of weeks back I was doodling this with a vague notion of orange and yellow fabrics, a design tip (from @heyquilty ) that the bottom triangles of a pattern look good if they are a slightly different colour to the top triangles, and a chevron style. It's amazing that such a simple idea can germinate into a big project but I'm up to the ironing of column seams so almost done now!

CHOOSING & CUTTING OUT YOUR FABRIC
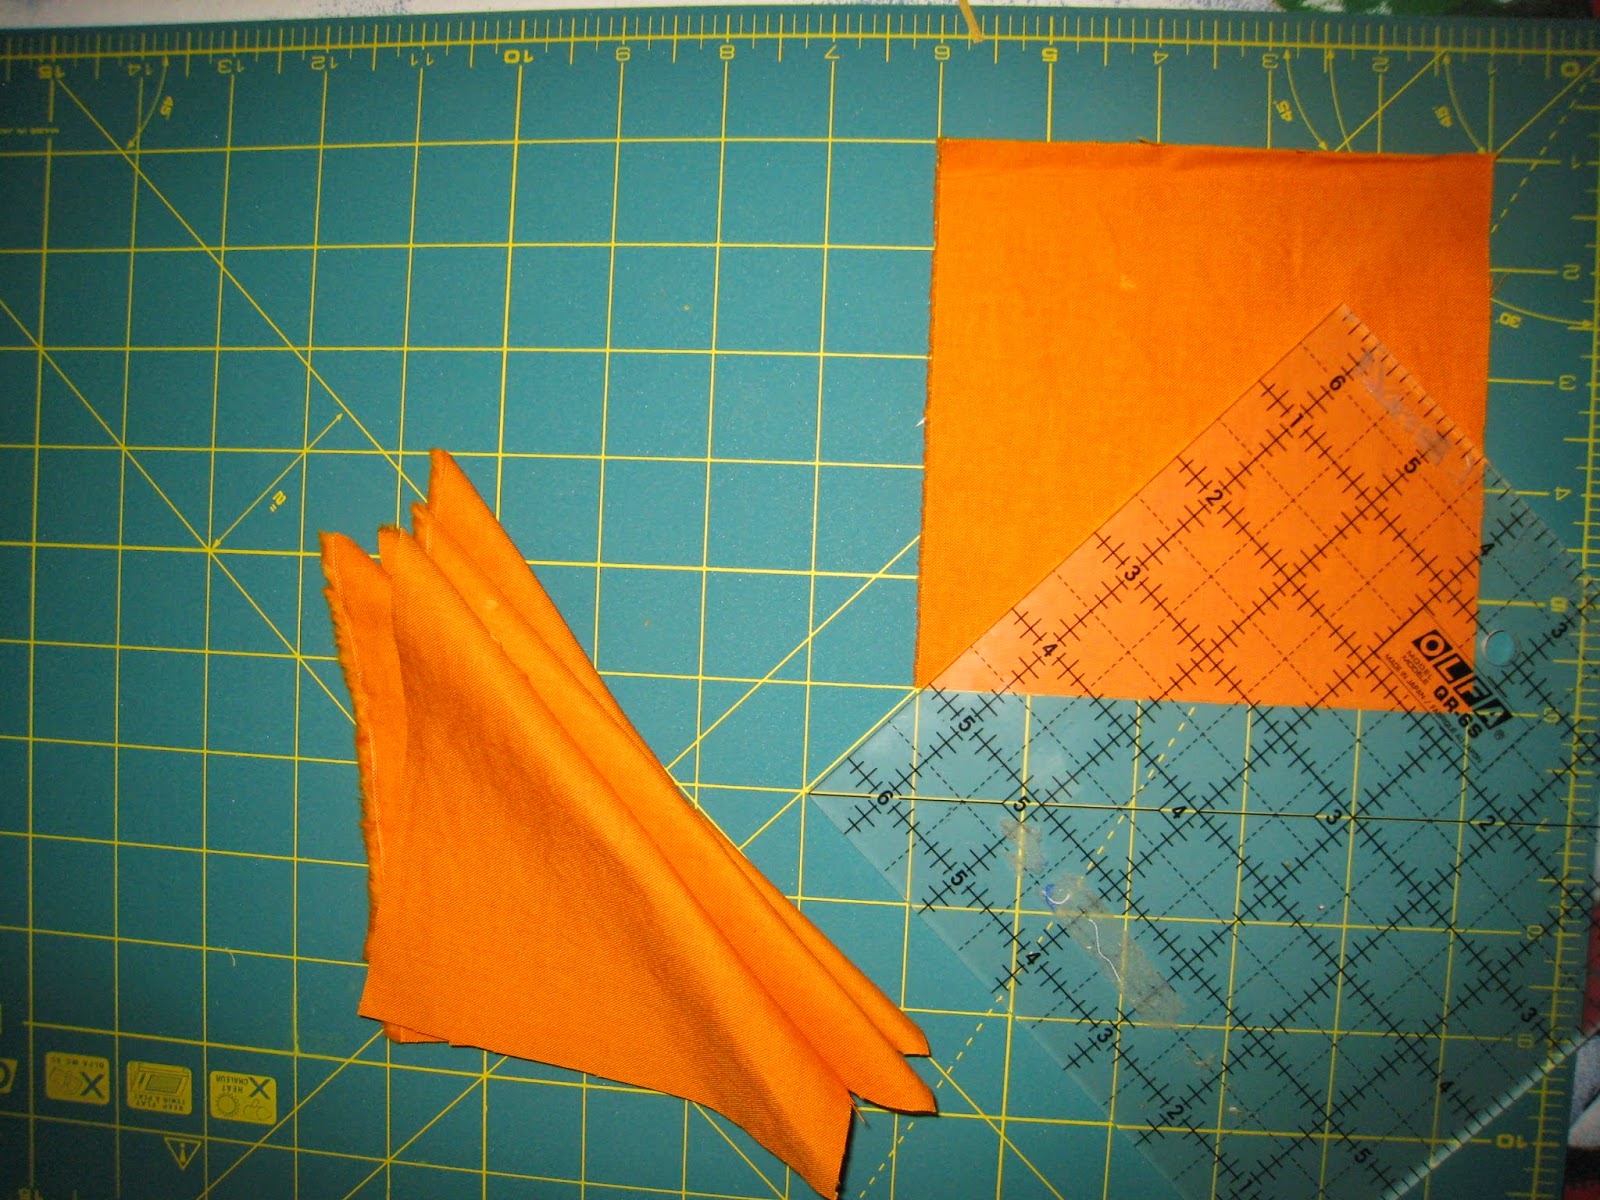
Here is how I began this quilt, full of the joys of Spring, because I had just received my Olfa rotary cutter in the post!
Fabric choice note: Choose a good sturdy fabric - 100% cotton works well. Wash before cutting. I zigzagged the edges so they didn't get too raggedy in the washing machine. Make sure you know how to wash it first. 30 degree wash is great.
--> Take note of the fabric patterns you're using. I had to cut the stripey fabric a certain way for a certain space on the quilt, otherwise the stripes go the wrong way.

It's like a dream come true. Just like they said on the YouTube tutorial, it cuts through two pieces of fabric, you can cut it to exact measurements. Granted, silky materials are always tricky but my 100% cotton was fab with it and It's a nice sturdy material for my quilt. I started to regret the (beautifully patterned) yellow stripey, slippy polycotton which started fraying a bit at the edges but it'lI be fine.

QUILT MATHS
So I counted out how many triangles I wanted ...--> 28 triangles per column
--> Mine has 5 columns x 8 rows so 140 triangles in total
I wish they did an app for quilt maths! I just cut a load of squares this time and cut out more as I went along. I decided to stop at 8 rows because I realised how big a project it was! Lots of sewing and my first time quilting in triangles - but, one step at a time! - I now have loads of extra triangles for scrap quilts anyway!
HOWEVER... For the sake of cutting efficiency I drew you a little picture.

For 3 fabrics in COLOUR 1, see the purple chevrons
For 2 fabrics in COLOUR 2, see pink chevrons.
The amount of triangles also works the same if you want 2 fabrics in COLOUR 1, obviously
--- My teacher-sister would be so proud!
You might just want to use 2 fabrics to make an obvious monochrome or something like that.
N.B. Each chevron is made of 4 triangles so divide the fabrics as you like into multiples of 4. If you have lots of offcuts you may want all different colour chevrons.
I did mine quite off-the-cuff because I wasn't sure where I was going with it exactly so I just made sure I had 4 triangles of a certain fabric for the chevron. It depends how you want to play it. Play around with triangle placements on the floor of your sewing room, dining room, kitchen, wherever - wherever most annoys my parents tends to be the place I do that sort of stuff (my sewing room is not quite big enough for a whole quilt of this size, but the living room is perfect!)
CUTTING OUT TRIANGLES
With the Olfa rotary cutter I simply cut out 6' squares and then cut them in half (so for 24 triangles just cut out 12 squares and cut them in half to make 24 triangles). I used the guideline measurements on the mat and perspex square to guide me. It took a while but so much faster than pinking shears!SEAM ALLOWANCE: The seam allowance will be about 3/4cm - I sometimes use 1.5cm. As long as all the triangles use the same seam allowance, you'll be fine.
This is, I think, the first fun part - starting to see what the eventual quilt will look like!
DESIGN PONDERINGS...
I wanted the quilt to have alternating colours. As you can see below: it's yellow, orange, yellow, orange, yellow, orange, yellow, orange. The stripes were tricky but I think they look good even if they don't match exactly. Feel free to swap things around. You can see in the picture below that I blatantly used 2 stripe chevrons near each other, then 2 mustard chevrons together. It really strengthens the print.
I used 1 yellow, patterned fabric + 1 yellow block colour fabric and 2 orange, patterned fabrics+ 1 orange block colour. It makes the quilt seem less fussy and the orange fabrics look quite different and contrasted.
 |
| Placing my quilt triangles AND THAT IS THE END OF PART ONE! |
Love the different patterns on here, so beautiful :)
ReplyDeleteThankyou TheLondonKitchen! I have been building up my collection of yellow and orange fabrics until I could make it really Summery :) #creative #quilts #fabrics
ReplyDelete