Showing posts with label sewing machine. Show all posts

Saturday, 21 February 2015

She's back!

She's purring like a dream. I don't want to jinx it too badly just yet, though, but my sewing machine is back from the lovely people at Frank Nutt (Birmingham) and I will be hiding away in my sewing room for most of the rest of today.

From my sewing room, door everyone else will just be hearing the whispered mutterings under my breath and the light whirring of my little Brother making a delightful orange quilt. Finally all the component parts are together, they just need a bit of sewing.
... Mwah ha ha ha! ...

Wednesday, 18 February 2015

Late night sewing tip

The sewing machine shop informed me that you have to change your sewing machine needle every 8 hours. As someone who has not changed their sewing machine needle in as many years, that is a good tip and potentially why my sewing machine has decided to give up the ghost (that might be putting it a smidge melodramatically): pure neglect. 

A needle only costs a couple of pounds, so it's nothing major and, if you think about it, 8 hours probably doesn't equate to too much packed-in sewing time. I'll probably just start changing the needle 4 times a year and flout the rules until I become a millionaire, preferably through crafting genius. Looking at prices for new sewing machines, however, really makes you appreciate what you borrow from your mum for an extended period of time, and sometimes let her use!

And on that bombshell. night night!

Monday, 9 February 2015

Sewing machine breakdown

I have to edit one of my free workshops a bit because I can't take my sewing machine now as it's broken. Hmm... Well, we can sew and handstitch hems which is fine but I would've liked to do some simple threading of a sewing machine too. 

Not to worry but I'm apparently getting to that point in my life where I feel that I need a courtesy sewing machine more than a courtesy car. Surely this is strange but we've developed a bond and I need it to finish my quilt. Thank goodness I have my handstitching to do for my historical garments to keep me occupied!

So I'm off to the shops to get some lovely people to give my sewing machine a service and see if it can be fixed. Otherwise you may be seeing a lot of sewing machine reviews and decision-making on this blog!

I just typed in "Singer" into Google expecting sewing machines to come up but it's just lots of pictures of Adele. We crafters must be alternative.

Beautiful Singer sewing machine - I've already got one this old that is working anyway

Sewing machine - This would be nice with less pink but look at all those potential stitch styles!

Brother sewing machine - Or I could just stick to what I know.

The sewing machine hasn't even broken down yet and I should repair it but a gal can dream!

Thursday, 5 February 2015

Exchanging your foot for another

Might be best to keep your needle up while you're doing this - so you don't knock it.
If you're doing a zip, you probably don't need to take the whole foot off but if you are working with something a bit more heavy duty like this...WALKING FOOT I just received in the post (woohoo!) ... then you may need to go ahead and take the whole foot off. Trust me, it's not a big thing to do. You'll be fine.

- You just need a penny/5p, or similar, to unscrew the screw and the foot will just drop off (not always a good thing in life, but in sewing - yay!) - Keep it in a safe place (some sort of box with drawers/a specific "MACHINE TOOLS BOX" is probably a good idea.)

Sewww... (sorry) So! Next you just need to make sure you don't lose that screw (put it to one side for a minute) and fit the zipper foot into the space where the old one was. Screw the screw in again tightly (don't want it falling off halfway through) and you are good to go!

Sewing machine dissection

It feels very intimate showing you the inside of my sewing machine all laid bare. 
It's very dusty in there but I've just given it a little spring clean so we should be good to go very soon!

So this is how we get some cotton out when the machine is trying to eat it and turn you into cotton as well! (I'm getting an old Superman visual here *spoiler alert - when Lex Luthor has the machine in the cave and they get covered in tin foil).


LET'S OPEN HER UP!

Grab yourself a 5p piece or similar. A screwdriver is not going to do it! 

It didn't fit!!! Use something everyone has about the house instead - check in the sofa...

Unscrew the 2 bolts on the sewing machine with the 5p / 5 centimes. Keep them safe!


Take the panel off and have a look inside. I took out 3 big bits of fluff so it's good to have a look inside every so often just as a bit of an MOT, although some shops will do this for you. 

N.B. If you have bought your machine from a retail outlet you can go back to them with any problems. John Lewis is quite good at that sort of thing, but if you can go back to the Brother/Singer people they can help you too.
  

Look at that! So much cotton rammed in his mouth! I wonder if they wanted it to look like that when they designed the machine, or whether it's random? Right, I'm off to get my tweezers :)

Found the tweezers! Bish bash bosh, job done.


Look at all those strands that were tightening up inside to try and chew up all my fabric :( 


Pondering: Bit of a distraction but, now that the machine is fixed and as my yellow bias binding has just arrived in the post, I could also finish off another quilt while I'm at it. Pondering on whether I should try my luck with the new quilt foot or if I should get my sewing machine MOT-tested in case there is a bigger problem there. It's an old machine and has been a bit finickety but it's not like all sewing machines AREN'T finickety...hmm... Agh! Don't want to spend a small amount on a machine just for now. Some people save up for cars - me, I save up for a fancy new Singer sewing machine. But then there's always going back to my grandma's old 1950s Singer which fits into a table and has a knee handle! I'll show you that sometime. It's cool. It's currently my bedside table so very practical!

Shame

Just feeling the shame of not having looked inside my sewing machine (ok, so it's my mom's and I've stolen it for my own personal use; well, she said I could have it so I suppose I have simply commandeered it; but we're getting off-topic!) for years! 

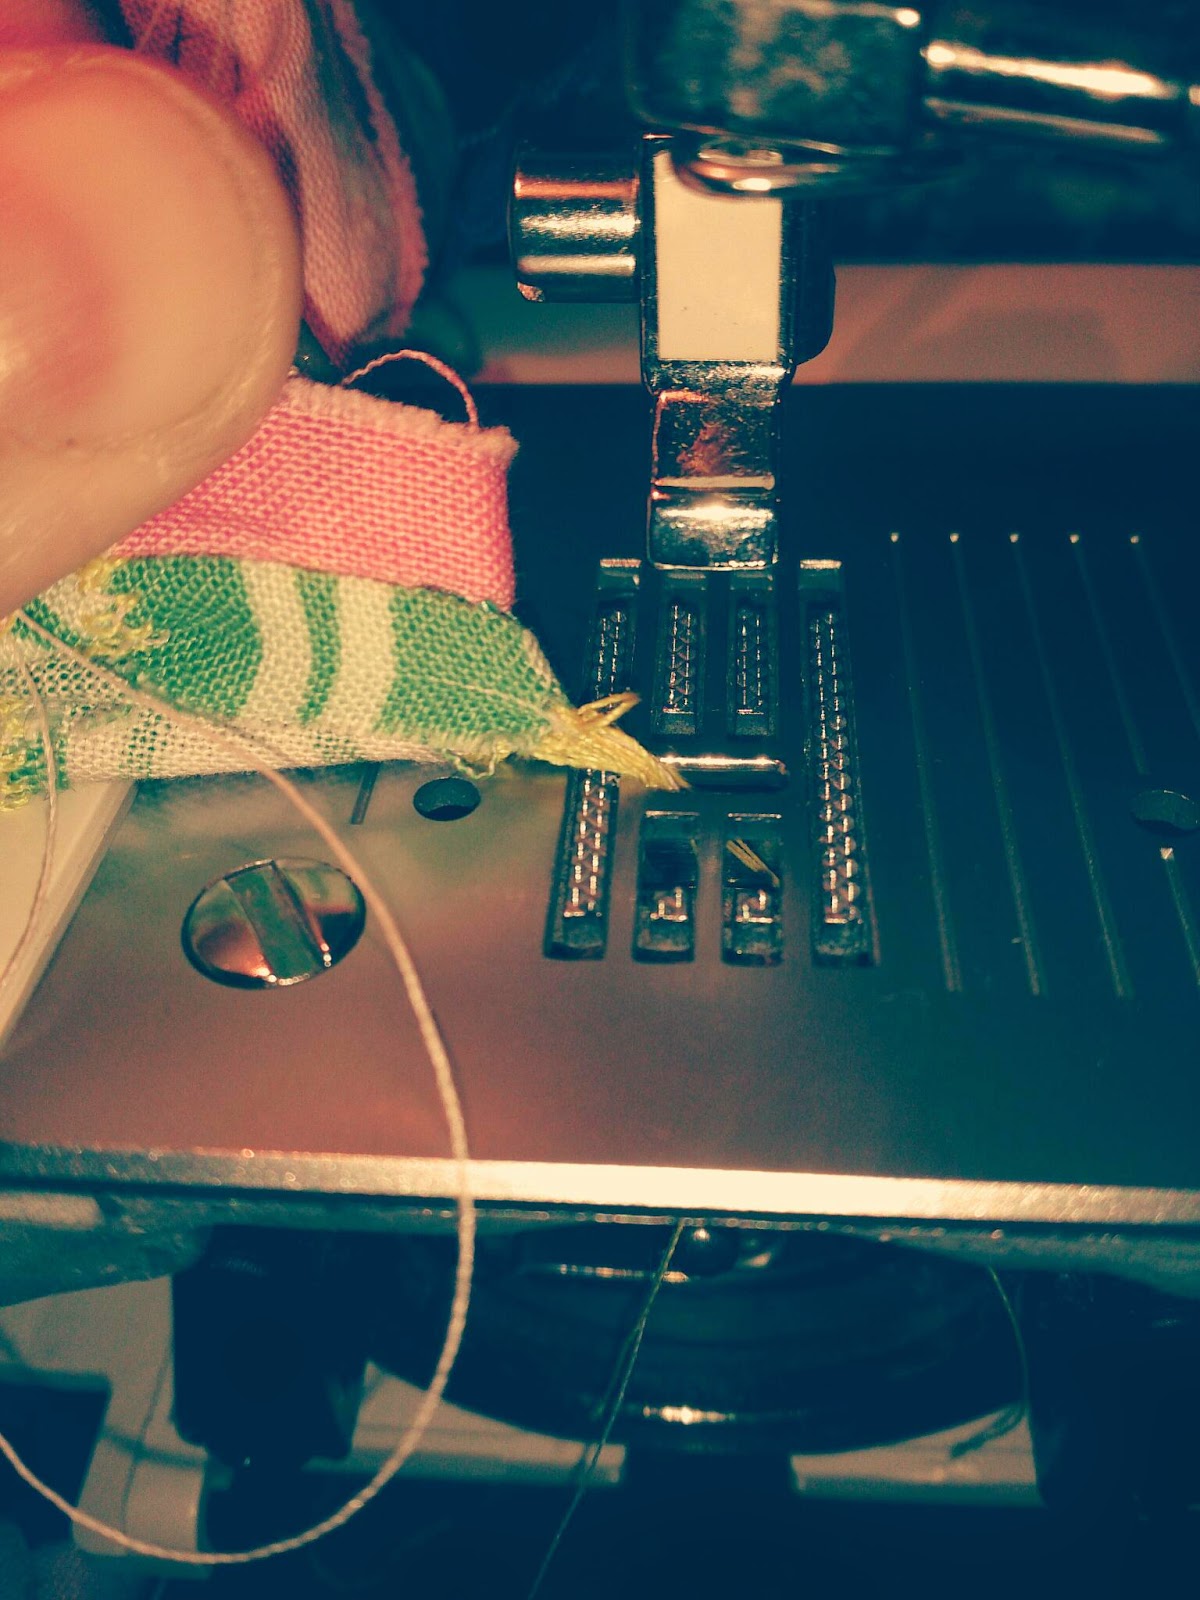
My sewing machine is so dusty! It feels a little bit harsh to be taking the poor thing apart in the name of science! As long as it goes back together in the end it'll be fine, though. This picture shows cotton getting stuck in the below-deck part of the sewing machine.

Cotton Jam

Cotton jam

To make your Cotton Jam, take 3 tonnes of cotton and sugar then boil...

To unmake a Cotton Jam
Nah I'm only kidding! so, to "un-make" your Cotton Jam - a cotton jam being when everything is stuck to the machine - the fabric, the needle, the thread in the needle, the bobbin. I was in a jam! I mean EVERYTHING! So, you've tried everything. You've jiggled the dial on the right-hand side of the machine, you've put your foot down to try and jump the machine out of it, you've jiggled the fabric a bit. You've raised your hands to the sky. There's nothing you can do. It's just. It's rubbish. I know, nightmare right?

You need to fix it.

So. I start by just taking everything apart. Unscrew the needle from it's socket. (My needle made an escape-attempt earlier but this time we want it to come out). The needle will come off attached to the thread, so cut that cord. The needle is freeee! Pop it on the side somewhere safe - these things are expensive dontcha know!


Take your foot off as well so everything is clear of the fabric (See this post for taking your foot off)  


Put them both somewhere safe and where you can see them. Silver on brown or a labelled box. The foot will now look quite bare (see pic on right). Leave the needle screw loose for when you need to poke the needle back up in there afterwards.


Take your bobbin holder out. You may need to take the bobbin out of the bobbin holder and you may need to cut the thread from it.


There's the thread all stuck in there and ruining our machine!


Which cable should she cut? The yellow one, or the white one. At this stage I wanted to save my thread but really it doesn't matter. Cut them all off, we'll out some new thread in the machine later.


Finally, I was able to jiggle the fabric (without ripping it) so that I could cut it and release the fabric.


Happy quilting/sewing now that your fabric is free and your machine is clear. Maybe go a little slower next time and make sure your bobbin and top thread are the same thickness, because that can sometimes contribute to the Cotton Jam situation.

Please rock a comment if this helped in any way, shape or form!

Sunday, 25 January 2015

Make do & Mend event


On Wednesday 11 February I'm running an informal workshop called Make do & Mend at Cherry Reds in Birmingham City Centre. It will be a fun introduction to improving your wardrobe with simple techniques like sewing buttons on, hemming and threading a sewing machine.


Follow this Facebook link for more details!! Make do & Mend with Monster Eyes Events


Learn to sew on buttons, thread a sewing machine, hem trousers and have a bit of fun!

Don't know how to use a sewing machine?


Can't sew on buttons?


Haven't quite got around to hemming those trousers?Learn some skills that'll keep your clothes in good nick for a little while yet.

Monday, 5 January 2015

Baby quilts - Make it their own!

Appliqué is a very simple technique in quilting which adds some personality to a lovely patchwork! You may want to try this on a sample square, like I did, which you can use again. I quilted one square of blue fabric and appliquéd a red heart onto it for example.

Adding an appliqué letter to your quilt

My niece's name begins with an 'e' so I found a font I like, Cooper black, and blew it up to 560 pt which means the 'e' fits in my 5" square.


I printed out the 'e' as an outline, cut it out (as a pattern), checked it fitted the blue linen square I wanted to put it on and then found some leftover pig pattern fabric from my patchwork (to use for the 'e') so that it would match.
Checking the size of the space
N.B. Think about where your pattern will fall on the letter. To check, hold your fabric and letter pattern together up to the light. I didn't want to cut off the pigs' eyes or anything too much so this helped me to figure out what I wanted.

I then pinned the paper 'e' to my leftover pig pattern fabric and drew around it with a pen. I then took the paper pattern off and cut out the fabric with fabric shears. I placed and pinned my fabric 'e' where I wanted it on my quilt. I decided the bottom right hand corner square would be a nice place for it. 

I put the same colour sewing thread in the sewing machine for the top thread and bobbin thread because sometimes a different colour comes up on certain interesting stitches (like Arrowhead stitch). Using the buttonhole setting on my sewing machine I simply sewed all around the 'e', making sure that I sewed equally between the pig pattern fabric and the blue fabric. This will stop the 'e' from fraying and make the stitch look even.


TIP: You might like to start with simple capital letters in a straighter font as it can be tricky sewing curves. You could also double up on your stitch to make the sewing a bit bolder.  

My pretty 'e'

I'm not sure how other people do it but, in hindsight it might be easier to appliqué onto the patchwork (before sewing the quilt together) so that there are only two pieces of fabric to sew through. But, you don't get the lovely quilty, flumfy effect that you get from quilting the fabric together like I have done. The way I have done it also means that I know the 'e' will be in the middle of the square exactly, no matter what happens with my crazy sewing!

Why not try making an Alphabet quilt?!

Friday, 2 January 2015

Walking foot envy

I have distracted myself dreaming over a walking foot for my sewing machine. Here is a tutorial from Fons & Porter about using a walking foot. It stops your quilt from puckering apparently but I'm going to see how easy it is to do quilting with my normal foot tonight. 

Time To Quilt: Using Your Walking Foot

https://www.youtube.com/watch?v=GO-EW0exM7U

Whilst making my baby quilt I didn't find it too hard to sew without a walking foot. As long as there are lots of pins and you go at a medium speed the fabric doesn't pucker much. The baby quilt I made didn't pucker up too much even though I was using fleece. cotton fabric and 5mm polyester wadding. The biggest issue was keeping the materials together so I think basting spray would be the first thing I'd spend my money on.

The walking foot, however, would be a good idea as it has a guide which would help one to follow straight lines when sewing the ditches of a patchwork and would keep the fabric from puckering, as I mentioned earlier. On Amazon there is one for about £5 which fits some different UK sewing machines so it would not be a wild expense for something quite useful. 

Maybe a walking foot will be my next purchase. Not right now though as I've already had a major spending spree of late because I bought some fat quarters of herringbone tweed to go with the herringbone tweed I've had knocking about for ages and want to put it to good use in a quilt!


Baby quilt - Part Two

Woohoo my polyester wadding from www.sewandso.co.uk (£5.95/m squared, although you may be able to get a better deal down the rag market but I was being impatient and lazy so I went online) came in the post. 

So... putting my eyeballs to one side for a little while I have started to complete the final stages of my baby quilt.


More bits and bobs you might want

I have some lovely blue bias binding (2" thick) which will match the fabric colour
Blue thread or a thread that will match your patchwork colour.

Let's get to work!

The great thing about putting bias binding around the edge of your quilt is that (as long as the wadding, patchwork and fleece material are all the same size) you can sew the quilt as you would like it to be... 
i.e. patchwork with right side facing up, wadding next, then fleece on the bottom.

Pin it all together with enough space for your sewing machine foot to get down the seams of all your patches. I have put two pins on the edges of each square but you could use safety pins to pin the middle of each square. I went from left to right and made sure the whole piece was flat. If you can work at a table that is the same size as your quilt, this is best. Mine is a little too small so I have just been extremely careful with pinning my fabric together. 

**N.B. It is worth taking time over pinning and checking the back of your three layers of fabric so that it is not puckered and looks flat before you start - saves unpicking or crying later :)

Now that all the pins are in place, I'm going to sew along the seams of the patchwork sewing the vertical rows first, then the horizontals. This is sometimes called "sewing the ditches." I've used a thread which matches the pattern of my patchwork (ubut feel free to make it your own and go crazy with a zany clashing-colour!). Also, try to keep in the ditch of the seam, although it's not too obvious if you have gone off a little bit.


GOOD LUCK!

**I'm off to do this now so I'll pop up a few pics when I get back!**